

Posted by: Alesia Netuk
Updated: October 2nd, 2023
How to Teach Life Cycles
How to Teach Life Cycles
Teaching life cycles to students is a way to engage young minds in the abstract concepts that we associate with birth, aging, and death while using a particular process model to deliver a fundamental cornerstone of science education. By learning about the life cycle of a fly or a frog, a butterfly or a chicken, children can be introduced to the marvelous intricacies of the natural world around us. Expanding the learning process to include vocabulary development, comprehension, guided writing, Venn Diagrams, activities, and crafts enriches its education in both engaging and comprehensive formats.
Vocabulary Development
Think and Discuss Strategy
Providing students with the structure and time to think about the life cycles encourages understanding the topic and then sharing their ideas with another classmate. The students themselves generate classroom participation rather than simply reciting answers to the teacher’s questions.
Picture Glossary
A picture glossary is an effective way to teach the concept of life cycles while expanding the student’s vocabulary. For instance, if the subject is the butterfly’s life cycle, children may see images of caterpillars, larva, milkweed, wings, etc., and associate these illustrations with the words that match them. Teachers can use this format to teach the lesson, and parents can also use the material to reinforce what is being taught.
Life cycle anchor charts:
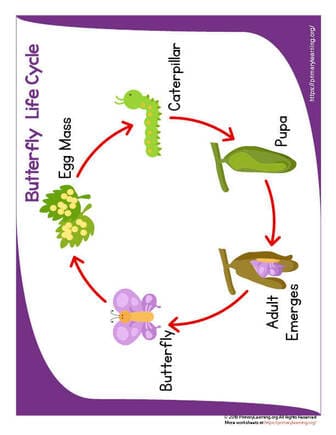
Butterfly Life Cycle Anchor Chart
With this worksheet, students will practice writing informative text and explore Brazilian culture. Brazil worksheets free printables for kids.
Butterfly Life Cycle Anchor Chart
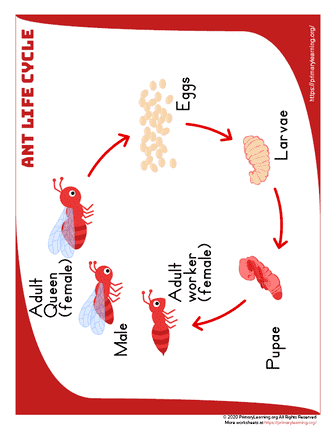
Ant Life Cycle Anchor Chart
With this ant life cycle anchor chart, students understand that everything goes through a life cycle and how ant undergoes a metamorphosis.
Ant Life Cycle Anchor Chart
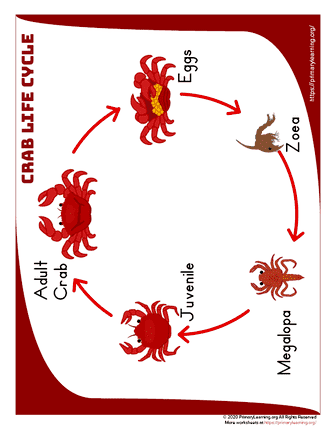
Crab Life Cycle Anchor Chart
With this crab life cycle anchor chart, students understand that everything goes through a life cycle and how crab undergoes a metamorphosis.
Crab Life Cycle Anchor Chart
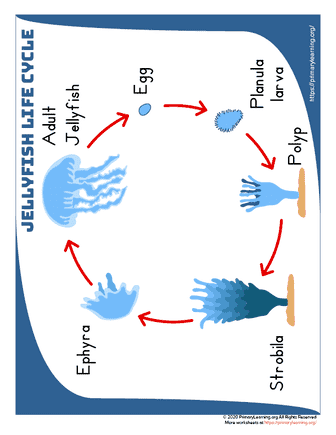
Jellyfish Life Cycle Anchor Chart
With this jellyfish life cycle anchor chart, students understand that everything goes through a life cycle and how jellyfish undergoes a metamorphosis.
Jellyfish Life Cycle Anchor Chart
Mosquito Life Cycle Anchor Chart
With this mosquito life cycle anchor chart, students understand that everything goes through a life cycle and how mosquito undergoes a metamorphosis.
Mosquito Life Cycle Anchor Chart
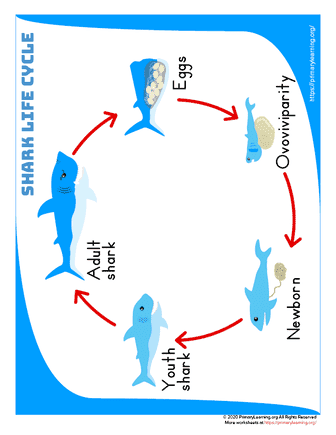
Shark Life Cycle Anchor Chart
With this shark life cycle anchor chart, students understand that everything goes through a life cycle and how shark undergoes a metamorphosis.
Shark Life Cycle Anchor Chart
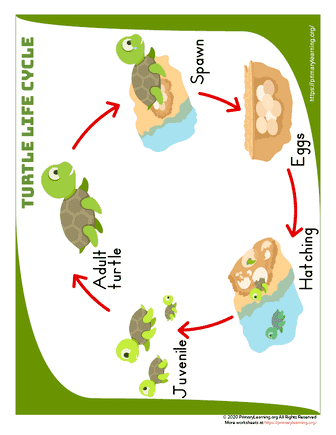
Turtle Life Cycle Anchor Chart
With this turtle life cycle anchor chart, students understand that everything goes through a life cycle and how turtle undergoes a metamorphosis.
Turtle Life Cycle Anchor Chart
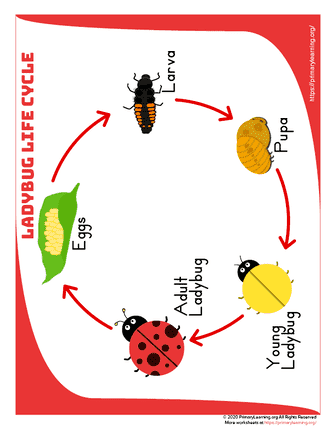
Ladybug Life Cycle Anchor Chart
With this ladybug life cycle anchor chart, students understand that everything goes through a life cycle and how ladybug undergoes a metamorphosis.
Ladybug Life Cycle Anchor Chart
Visual Learning
A classroom is also a teaching tool, as anchor charts, word walls, and posters present the life cycles in a vivid and colorful medium.
Lifecycle word wall cards:
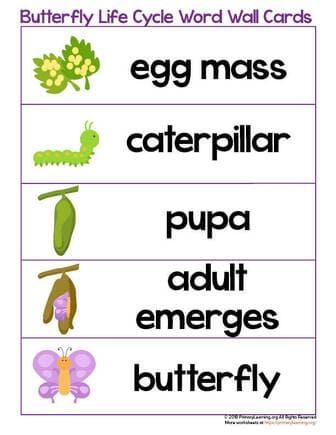
Butterfly Life Cycle Word Wall Cards
With this word search, students learn vocabulary associated with the butterfly life cycle. It is an excellent way to introduce vocabulary words. In addition, the word search includes illustrations of the butterfly life cycle.
Butterfly Life Cycle Word Wall Cards
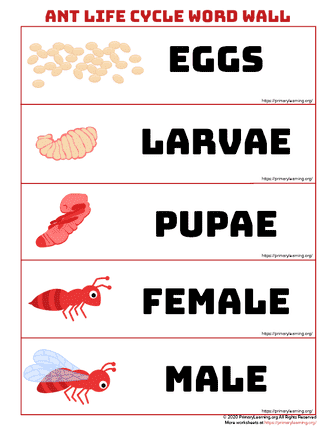
Ant Life Cycle Word Wall
Use the ant life cycle word wall to build vocabulary and writing skills, as well explore stages of the ant life cycle.
Ant Life Cycle Word Wall
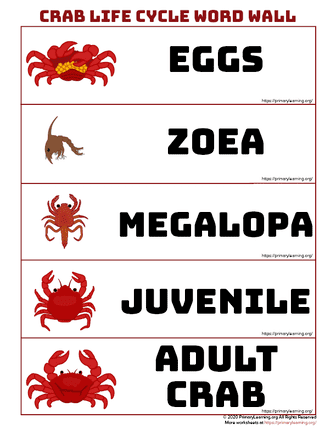
Crab Life Cycle Word Wall
Use the crab life cycle word wall to build vocabulary and writing skills, as well explore stages of the crab life cycle.
Crab Life Cycle Word Wall
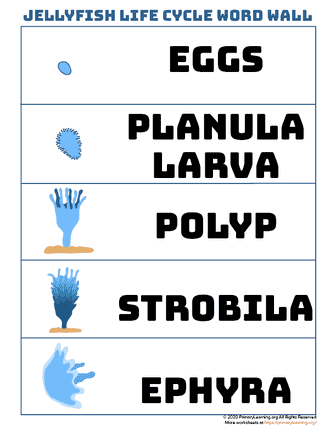
Jellyfish Life Cycle Word Wall
Use the jellyfish life cycle word wall to build vocabulary and writing skills, as well explore stages of the jellyfish life cycle.
Jellyfish Life Cycle Word Wall
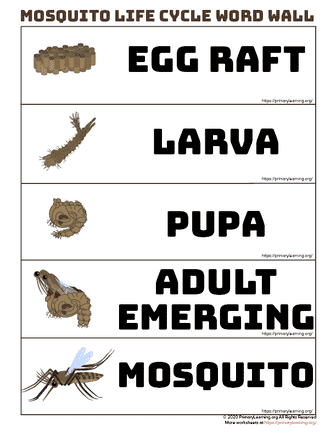
Mosquito Life Cycle Word Wall
Use the mosquito life cycle word wall to build vocabulary and writing skills, as well explore stages of the mosquito life cycle.
Mosquito Life Cycle Word Wall
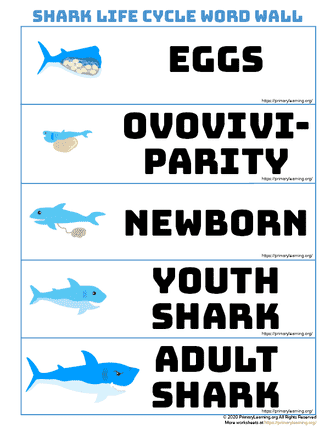
Shark Life Cycle Word Wall
Use the shark life cycle word wall to build vocabulary and writing skills, as well explore stages of the shark life cycle.
Shark Life Cycle Word Wall
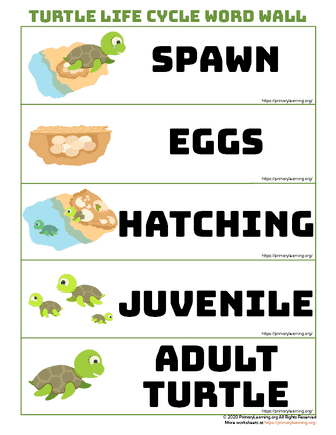
Turtle Life Cycle Word Wall
Use the turtle life cycle word wall to build vocabulary and writing skills, as well explore stages of the turtle life cycle.
Turtle Life Cycle Word Wall
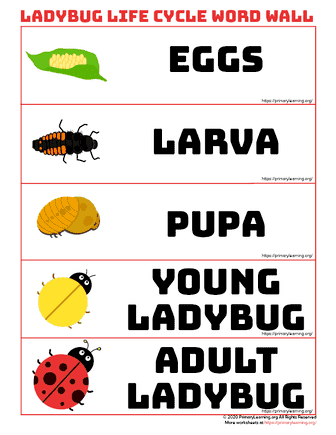
Ladybug Life Cycle Word Wall
Use the ladybug life cycle word wall to build vocabulary and writing skills, as well explore stages of the ladybug life cycle.
Ladybug Life Cycle Word Wall
Slides
What about a PowerPoint presentation to show the different development stages, with keywords spotlighted on the individual slides? The slides may also be printed in booklet form to read to one another in small groups to facilitate guided readings. By listing several keywords on an index card, the students have cues that they can use to summarize the main concepts of the life cycles.
Flashcards
To develop a complete understanding of life cycles, the teacher may choose to use flashcards for the students. This tried-and-true teaching tool allows the student to absorb facts in a method that’s easily absorbed and can also be fun, as a student tests his or her own knowledge against the flashcard.
Printable life cycles flash cards:
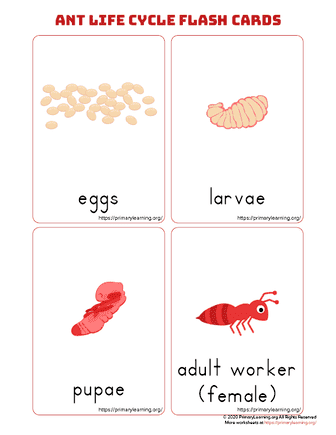
Ant Life Cycle Flashcards
This activity is great to introduce the life cycle of an ant ant and practice sequencing order.
Ant Life Cycle Flashcards
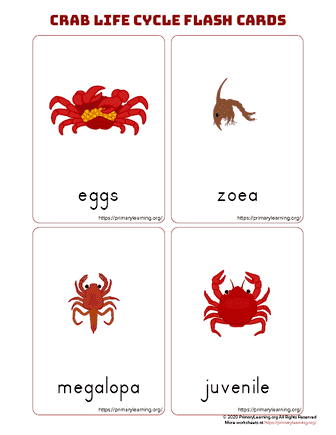
Crab Life Cycle Flashcards
This activity is great to introduce the life cycle of a crab crab and practice sequencing order.
Crab Life Cycle Flashcards
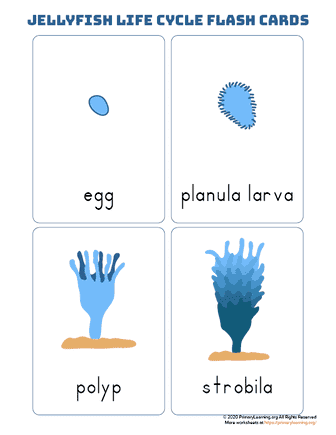
Jellyfish Life Cycle Flashcards
This activity is great to introduce the life cycle of a jellyfish and practice sequencing order.
Jellyfish Life Cycle Flashcards
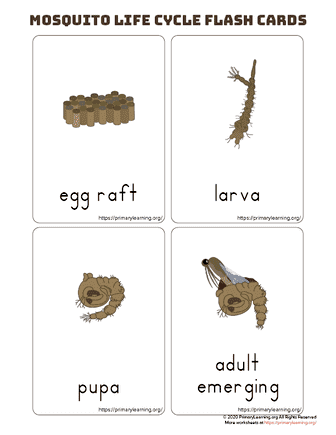
Mosquito Life Cycle Flashcards
This activity is great to introduce the life cycle of a mosquito mosquito and practice sequencing order.
Mosquito Life Cycle Flashcards
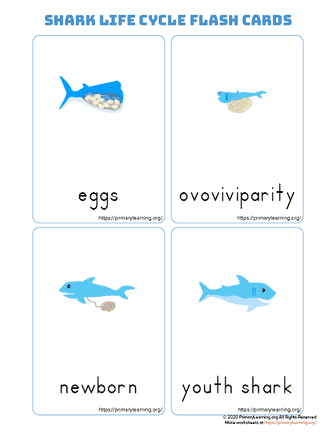
Shark Life Cycle Flashcards
This activity is great to introduce the life cycle of a shark shark and practice sequencing order.
Shark Life Cycle Flashcards
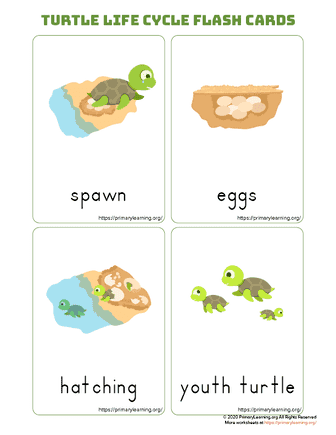
Turtle Life Cycle Flashcards
This activity is great to introduce the life cycle of a turtle turtle and practice sequencing order.
Turtle Life Cycle Flashcards
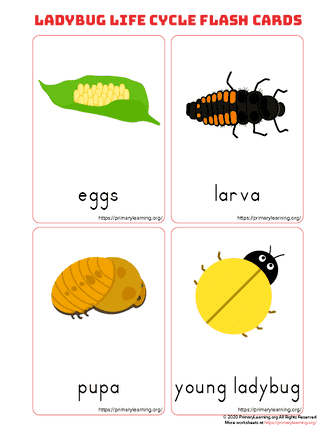
Ladybug Life Cycle Flashcards
This activity is great to introduce the life cycle of a ladybug ladybug and practice sequencing order.
Ladybug Life Cycle Flashcards
Developing Comprehension and Understanding of Life Cycle Sequencing
Teaching life cycle sequencing helps the student learn that events happen in a particular order: a butterfly does not emerge from the cocoon until it first becomes a caterpillar. There are specific events in the process, and lessons can be developed that strengthen the understanding of the sequence of events in the life cycle.
Life cycle printbales:
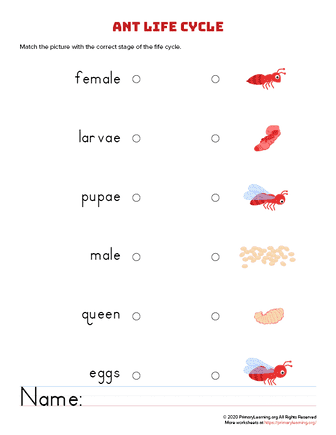
Ant Life Cycle – Connect It
With this ant life cycle activity, students will match the image on the left with a word on the right.
Ant Life Cycle – Connect It
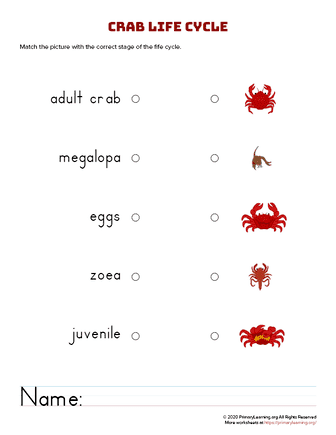
Crab Life Cycle – Connect It
With this crab life cycle activity, students will match the image on the left with a word on the right.
Crab Life Cycle – Connect It
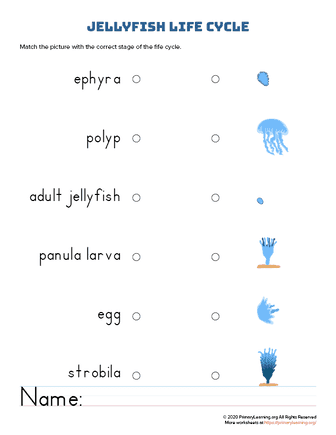
Jellyfish Life Cycle – Connect It
With this jellyfish life cycle activity, students will match the image on the left with a word on the right.
Jellyfish Life Cycle – Connect It
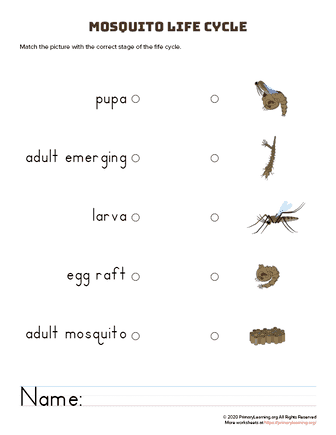
Mosquito Life Cycle – Connect It
With this mosquito life cycle activity, students will match the image on the left with a word on the right.
Mosquito Life Cycle – Connect It
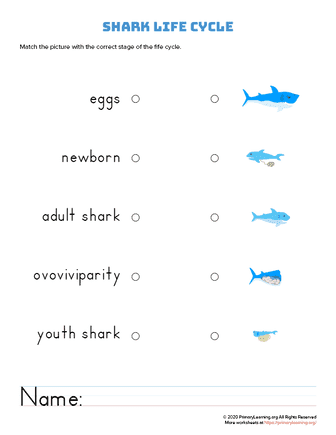
Shark Life Cycle – Connect It
With this shark life cycle activity, students will match the image on the left with a word on the right.
Shark Life Cycle – Connect It
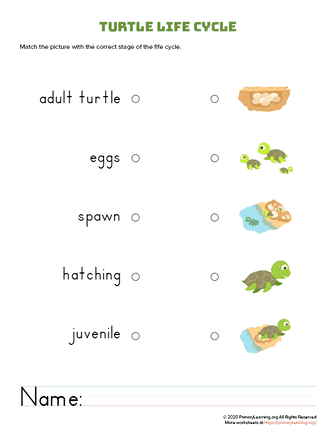
Turtle Life Cycle – Connect It
With this turtle life cycle activity, students will match the image on the left with a word on the right.
Turtle Life Cycle – Connect It
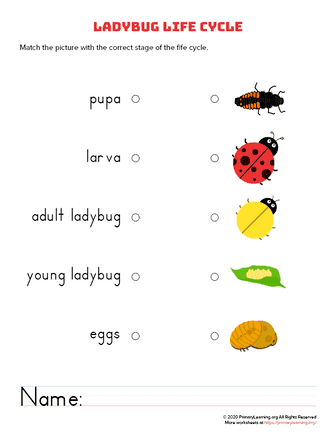
Ladybug Life Cycle – Connect It
With this ladybug life cycle activity, students will match the image on the left with a word on the right.
Ladybug Life Cycle – Connect It
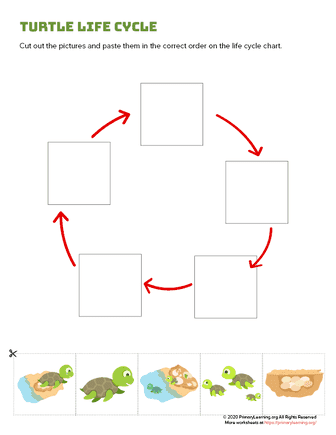
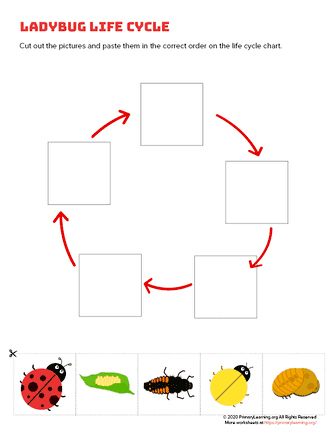
Cutting and Pasting Pictures
This format is useful when combining a vocabulary log with the actual stages of the life cycle. Cutting out pictures of the life cycle and arranging them in sequence teaches the student what happens during each phase. Labeling each stage supports the learning process and reinforces an understanding of the sequencing.
Cut and paste life cycle activities:
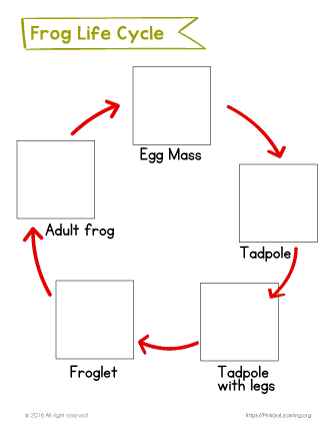
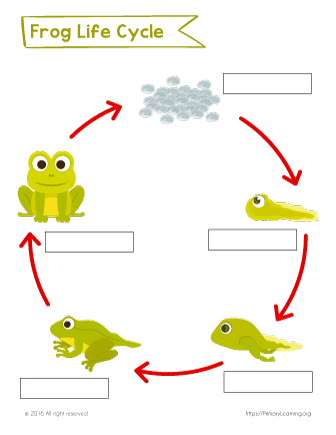
Frog Life Cycle | Cut and Paste
A great article about the frog cycle for elementary students. Learn all about frog life cycle and transformation with pictures.
Frog Life Cycle | Cut and Paste
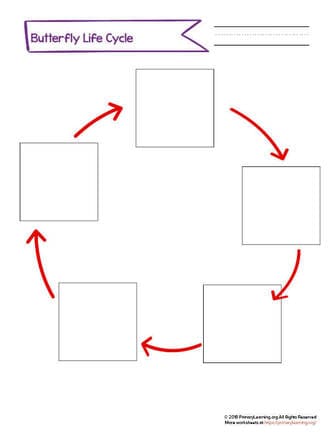
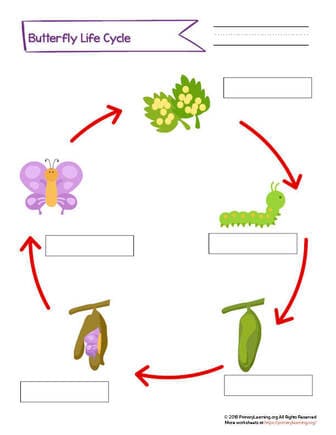
Cut and Paste Butterfly Life Cycle
Developing phonological awareness is an essential skill for your kindergartener. All you need is cut-out cards from the second page!
Cut and Paste Butterfly Life Cycle
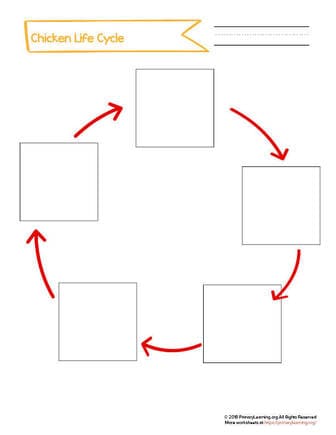
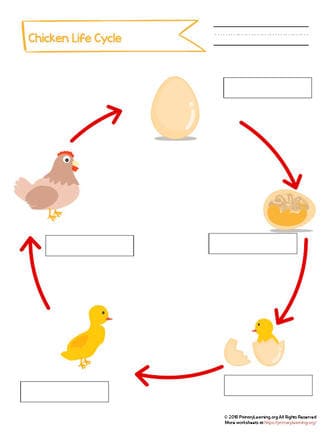
Cut And Paste | The Life Cycle of a Chicken Worksheet
Zookeeper Zander is here to help your students practice the Cursive Uppercase Letter Z! Kids learn how to form the letter; they practice tracing and writing.
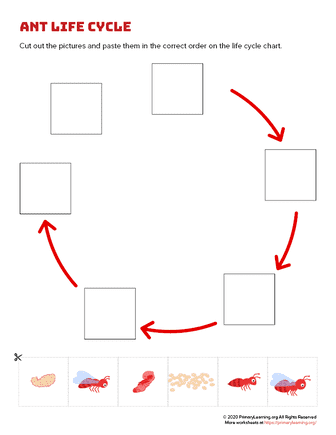
Ant Life Cycle – Cut and Paste
This is a fun science activity for elementary students help students learn about ant life cycle.
Ant Life Cycle – Cut and Paste
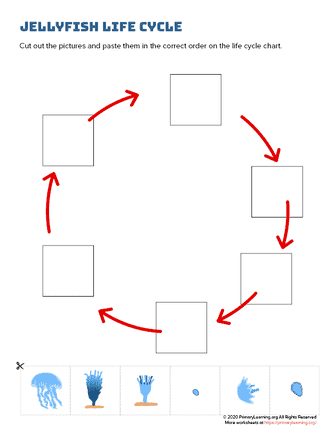
Jellyfish Life Cycle – Cut and Paste
This is a fun science activity for elementary students help students learn about jellyfish life cycle.
Jellyfish Life Cycle – Cut and Paste
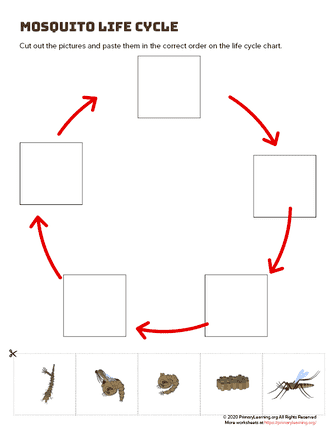
Mosquito Life Cycle – Cut and Paste
This is a fun science activity for elementary students help students learn about mosquito life cycle.
Mosquito Life Cycle – Cut and Paste
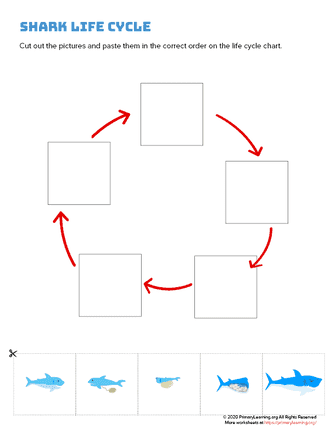
Shark Life Cycle – Cut and Paste
This is a fun science activity for elementary students help students learn about shark life cycle.
Shark Life Cycle – Cut and Paste
Turtle Life Cycle – Cut and Paste
This is a fun science activity for elementary students help students learn about turtle life cycle.
Turtle Life Cycle – Cut and Paste
Ladybug Life Cycle – Cut and Paste
This is a fun science activity for elementary students help students learn about ladybug life cycle.
Ladybug Life Cycle – Cut and Paste
Vocabulary Log
The student will delve into the words used in the life cycle lesson by creating a vocabulary log. Categories for the log include:
- The target word;
- The definition of the word that fits the context in the life cycle lesson;
- An associated meaning of the word;
- Relating the meaning of the word.
Guided Writing
Guided writing allows the teacher to work with a group of students to encourage learning the life cycles through writing. Using a writing journal, the student will describe the individual stages of the animal’s life cycle, using the vocabulary that is relevant to the animal. Some students may have difficulty with guided writing assignments, but this is where the vocabulary log, the picture glossary, and other supports can help the student develop a deeper understanding through the life cycles’ writing.
Students explore each stage of life cycle and look at the pictures as a reference:
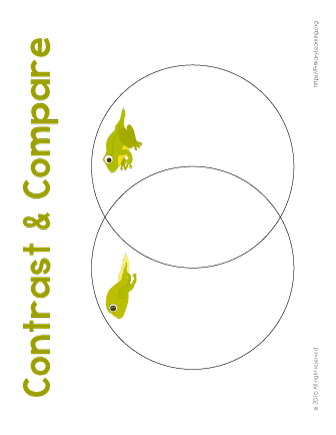
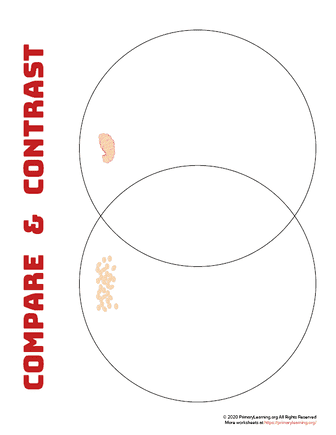
Venn Diagram
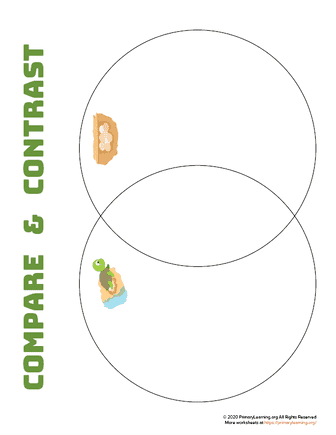
The evolution of an animal through the stages of its life, comparing and contrasting the life cycles, can be effectively demonstrated using Venn Diagrams. A student can compare two different species—for instance, a bear and a human—by creating one Venn Diagram showing the life cycle of a bear on the left side of the paper and another Venn Diagram that describes the life cycle of a human on the paper’s right side. Using words that compare and contrast, the student will determine what characteristics belong in the overlapping section of the Venn Diagram.
Life cyle Venn Diagras:
Lifecycle of a Frog | Venn Diagrams
Fun and engaging hands-on worksheet for primary school students. Have your students create the life stages of a frog and create a pinboard.
Lifecycle of a Frog | Venn Diagrams
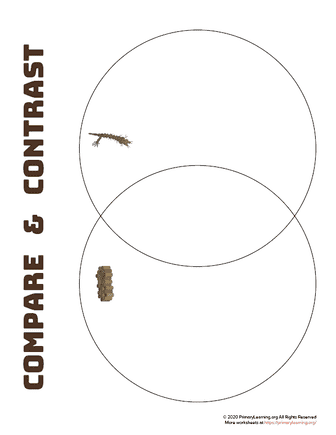
Ant Life Cycle Venn-Diagram
This activity is perfect to compare and contrast different stages of ant life cycle.
Ant Life Cycle Venn-Diagram
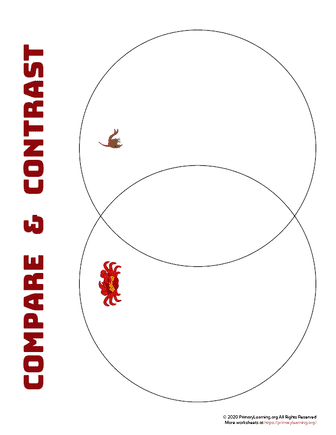
Crab Life Cycle Venn-Diagram
This activity is perfect to compare and contrast different stages of crab life cycle.
Crab Life Cycle Venn-Diagram
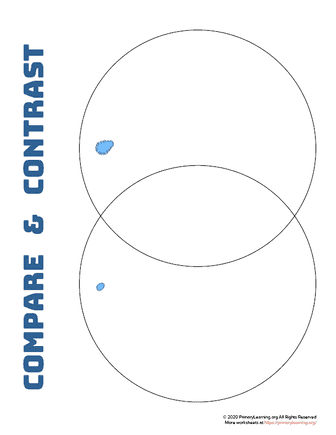
Jellyfish Life Cycle Venn-Diagram
This activity is perfect to compare and contrast different stages of jellyfish life cycle.
Jellyfish Life Cycle Venn-Diagram
Mosquito Life Cycle Venn-Diagram
This activity is perfect to compare and contrast different stages of mosquito life cycle.
Mosquito Life Cycle Venn-Diagram
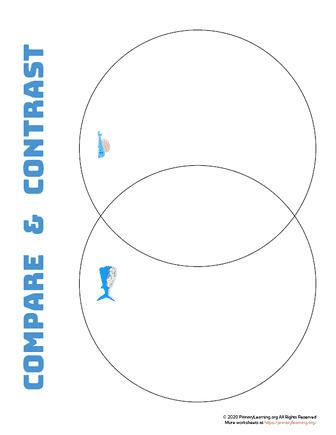
Shark Life Cycle Venn-Diagram
This activity is perfect to compare and contrast different stages of shark life cycle.
Shark Life Cycle Venn-Diagram
Turtle Life Cycle Venn-Diagram
This activity is perfect to compare and contrast different stages of turtle life cycle.
Turtle Life Cycle Venn-Diagram
Ladybug Life Cycle Venn-Diagram
This activity is perfect to compare and contrast different stages of ladybug life cycle.
Ladybug Life Cycle Venn-Diagram
Supplementing the Learning Process
Drawing and Labeling the Life Cycle
This essential exercise details the specific facts of the animal’s life cycle so that the student can understand, in a systematic and orderly fashion, what the animal undergoes throughout its life.
Life cycle labeling activities:
Label the Life Cycle of the Frog
Students use this worksheet to label each stage of the life cycle of the chicken. This activity is great to reinforce the vocabulary and learn the sequencing of the life cycle.
Label the Life Cycle of the Frog
Label the Stages of the Butterfly Life Cycle
In this worksheet, kids will label the stages of the life cycle of the frog. Both versions of this worksheet available: in color and b&w.
Label the Life Cycle of the Chicken
This judge reading passage is perfect for second-grade students. Students are instructed to read the story about Judge July and answer questions.
Label the Life Cycle of the Chicken
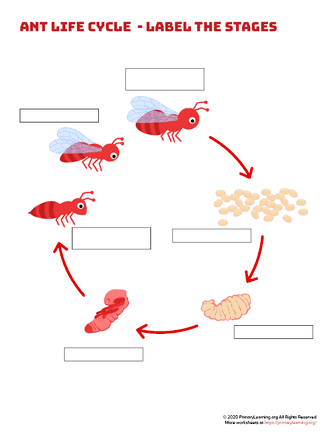
Ant Life Cycle – Label The Stages
Students use this worksheet to label the stage of ant life cycle. This activity is great to reinforce the ant life cycle vocabulary and practice sequencing.
Ant Life Cycle – Label The Stages
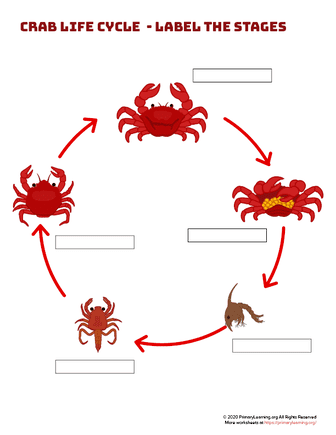
Crab Life Cycle – Label The Stages
Students use this worksheet to label the stage of crab life cycle. This activity is great to reinforce the crab life cycle vocabulary and practice sequencing.
Crab Life Cycle – Label The Stages
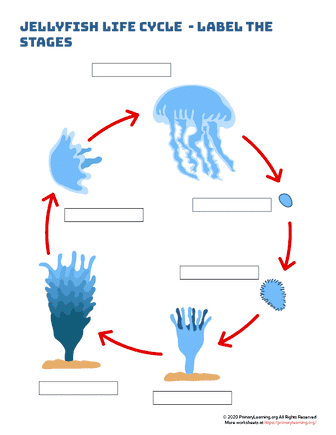
Jellyfish Life Cycle – Label The Stages
Students use this worksheet to label the stage of jellyfish life cycle. This activity is great to reinforce the jellyfish life cycle vocabulary and practice sequencing.
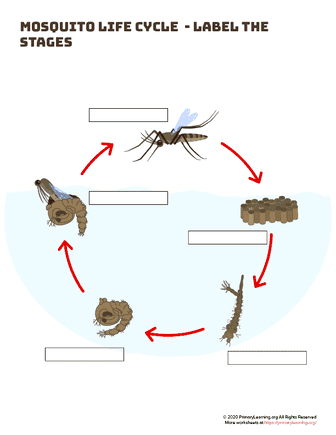
Mosquito Life Cycle – Label The Stages
Students use this worksheet to label the stage of mosquito life cycle. This activity is great to reinforce the mosquito life cycle vocabulary and practice sequencing.
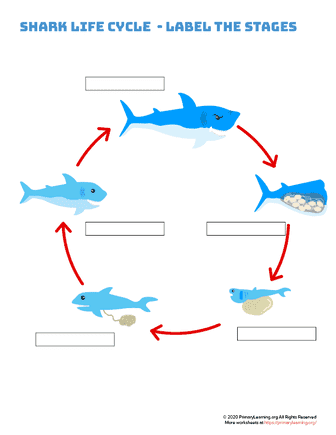
Shark Life Cycle – Label The Stages
Students use this worksheet to label the stage of shark life cycle. This activity is great to reinforce the shark life cycle vocabulary and practice sequencing.
Shark Life Cycle – Label The Stages
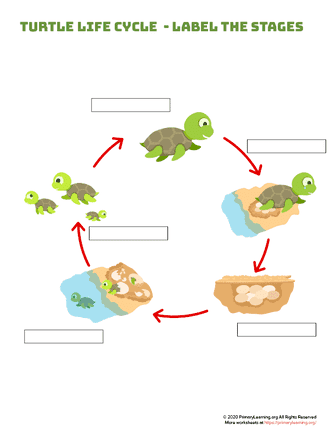
Turtle Life Cycle – Label The Stages
Students use this worksheet to label the stage of turtle life cycle. This activity is great to reinforce the turtle life cycle vocabulary and practice sequencing.
Turtle Life Cycle – Label The Stages
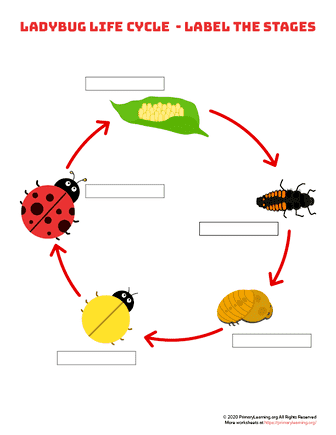
Ladybug Life Cycle – Label The Stages
Students use this worksheet to label the stage of ladybug life cycle. This activity is great to reinforce the ladybug life cycle vocabulary and practice sequencing.
Memory Game
Games are a fun way to instill concepts in a student. Students can engage in a memory game, matching the picture or word with the appropriate life cycle stage. The “I Have, Who Has” game can be played with the entire class or in small groups.
Small-Group Play
- The student deals the cards to all the players.
- Players arrange the cards, face-up, in front of them. Students may be encouraged to develop a system for arranging their cards, for instance, in order from the least to the greatest so that they can find their cards quickly.
- Someone asks the question.
- The student with the card that answers the question reads the answer.
- The student then reads the question on the card.
- The student turns over the card after reading it.
- The first person to turn over all his/her cards is the winner of the game.
Classroom Play
- The teacher distributes a card to each student.
- Extra cards are distributed to the stronger students when the game is first played; later, as the students are more familiar with the cards, they may be handed out randomly.
- Choose the student with the starter card to begin the game.
- Play continues until returning to the original card.
After the students have become adept at the game, the teacher may add a new element: a stopwatch. The students will try to compete with their previous time.
Life cycle memory games:
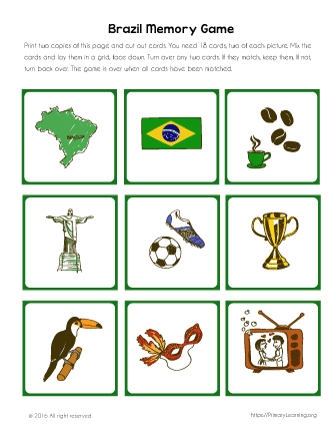
Brazil Activities | Memory Game
Are you looking for Brazilian activities? Here are fun crosswords about Brazil. Depending on the age, pick the right crossword and simply print it.
Brazil Activities | Memory Game
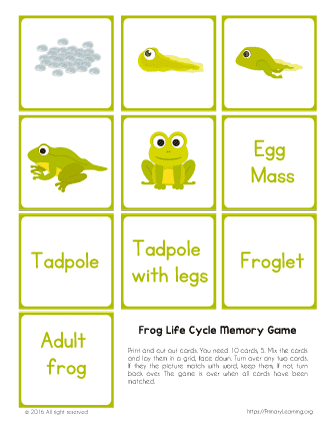
Frog Life Cycle Printable Memory Game
This five-part frog lifecycle cut activity includes eggs, a tadpole, a tadpole with legs, a froglet, and a frog.
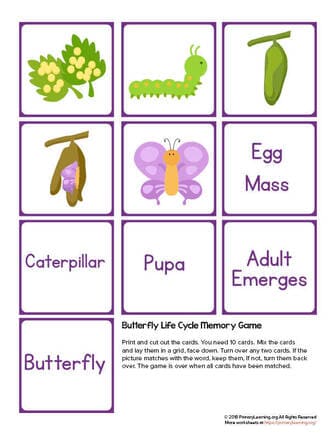
Printable Butterfly Life Cycle Memory Game
Students are encouraged to use prefixes and suffixes anchor charts as a reference. Encourage students to add prefixes and suffixes to the root words and create new words.
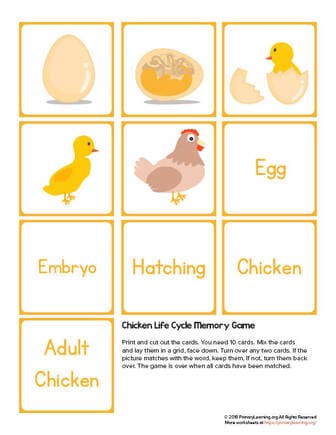
The Chicken Life Cycle Memory Game
With this worksheet, kids learn to read, trace and build the word TEN. Kids cut out cards and the bottom of the page and paste the letters to make a word.
The Chicken Life Cycle Memory Game
Crab Life Cycle Memory Game
Playing crab life cycle memory game is not only good for concentrating skills, but also reinforce the life cycle vocabulary.
Crab Life Cycle Memory Game
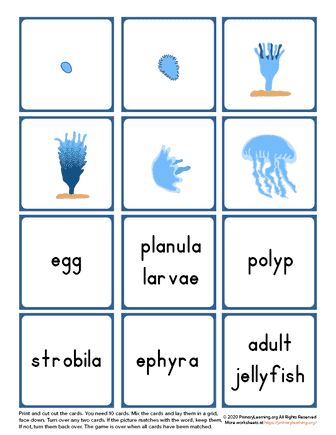
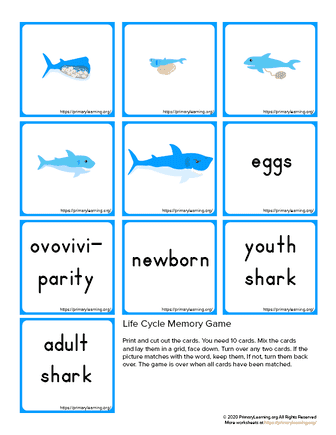
Jellyfish Life Cycle Memory Game
Playing jellyfish life cycle memory game is not only good for concentrating skills, but also reinforce the life cycle vocabulary.
Jellyfish Life Cycle Memory Game
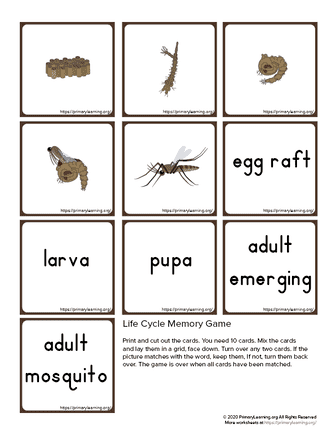
Mosquito Life Cycle Memory Game
Playing mosquito life cycle memory game is not only good for concentrating skills, but also reinforce the life cycle vocabulary.
Mosquito Life Cycle Memory Game
Shark Life Cycle Memory Game
Playing shark life cycle memory game is not only good for concentrating skills, but also reinforce the life cycle vocabulary.
Shark Life Cycle Memory Game
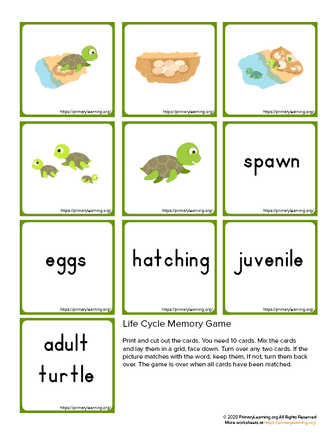
Turtle Life Cycle Memory Game
Playing turtle life cycle memory game is not only good for concentrating skills, but also reinforce the life cycle vocabulary.
Turtle Life Cycle Memory Game
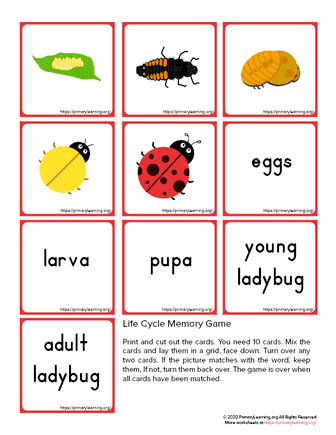
Ladybug Life Cycle Memory Game
Playing ladybug life cycle memory game is not only good for concentrating skills, but also reinforce the life cycle vocabulary.
Ladybug Life Cycle Memory Game
Life Cycle Craft
There is an abundance of crafts that supplement the teaching life cycles. Depending upon the ages of the students, crafts may be simple or elaborate. In many cases, paper plates, construction paper, glue, uncooked pasta, yarn, and food coloring are needed to inspire a child’s artistic creativity while providing a visual resource for the life cycle lesson.
Life cycle units:
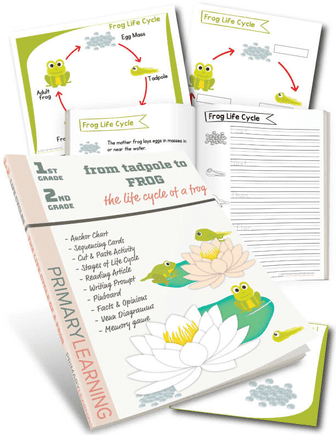
Frog Life Cycle Workbook
In this science packet, first-grade and second-grade students will explore frog life cycle in a fun and meaningful way.
Frog Life Cycle Workbook
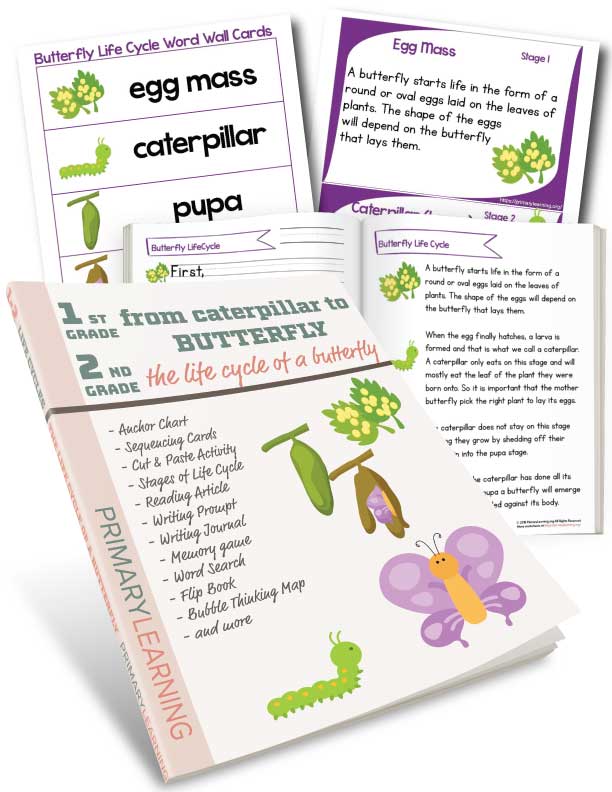
Butterfly Life Cycle Workbook
This butterfly life cycle workbook includes 14 hands-on worksheets and activities for independent practice, learning centers and teamwork.
Butterfly Life Cycle Workbook
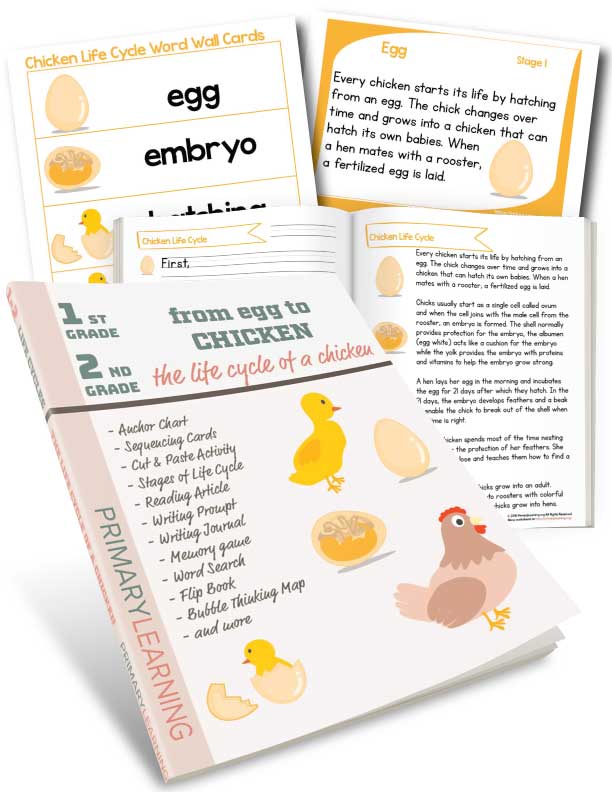
Chicken Life Cycle Workbook
With this workbook students explore the chicken life cycle. The main goal is to learn the transformation of the chicken from egg to the adult in a fun and meaningful way.
Chicken Life Cycle Workbook
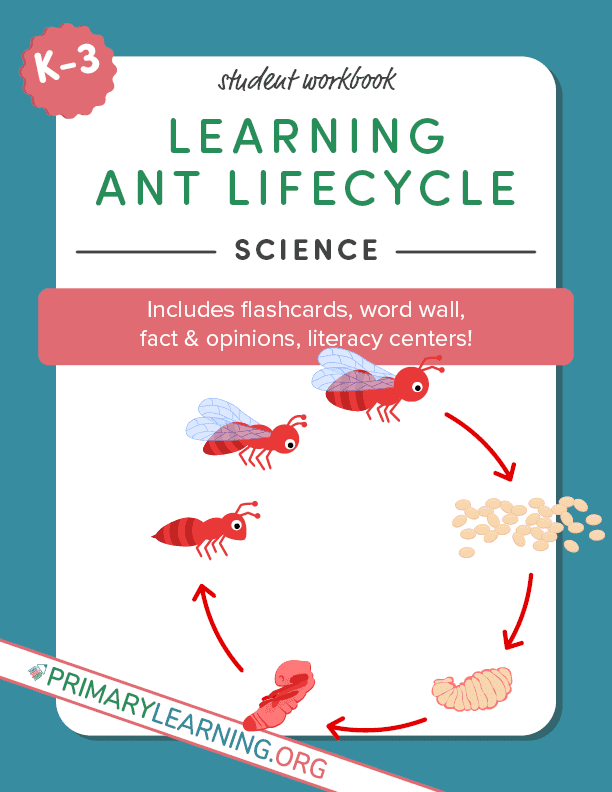
Ant Life Cycle Workbook
With this workbook, students explore the ant life cycle. The main goal is to learn the transformation of the ant from the egg to the adult in a fun and meaningful way.
Ant Life Cycle Workbook
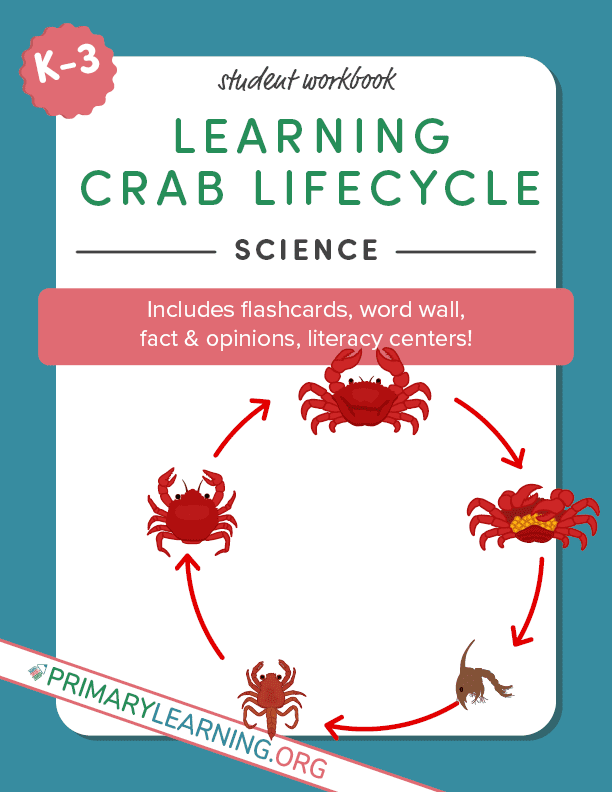
Crab Life Cycle Workbook
With this workbook, students explore the crab life cycle. The main goal is to learn the transformation of the crab from the egg to the adult in a fun and meaningful way.
Crab Life Cycle Workbook
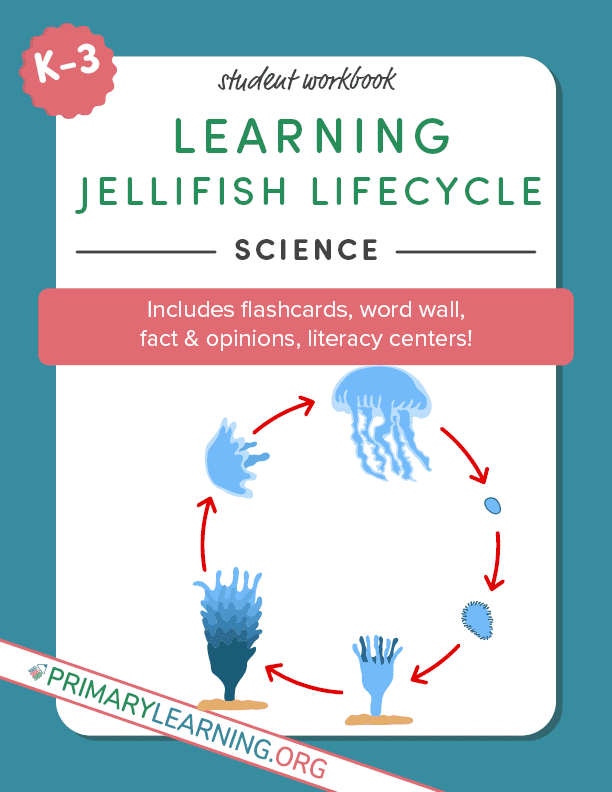
Jellyfish Life Cycle Workbook
With this workbook, students explore the jellyfish life cycle. The main goal is to learn the transformation of the jellyfish from the egg to the adult in a fun and meaningful way.
Jellyfish Life Cycle Workbook
Ladybug Life Cycle Workbook
With this workbook, students explore the ladybug life cycle. The main goal is to learn the transformation of the ladybug from the egg to the adult in a fun and meaningful way.
Ladybug Life Cycle Workbook
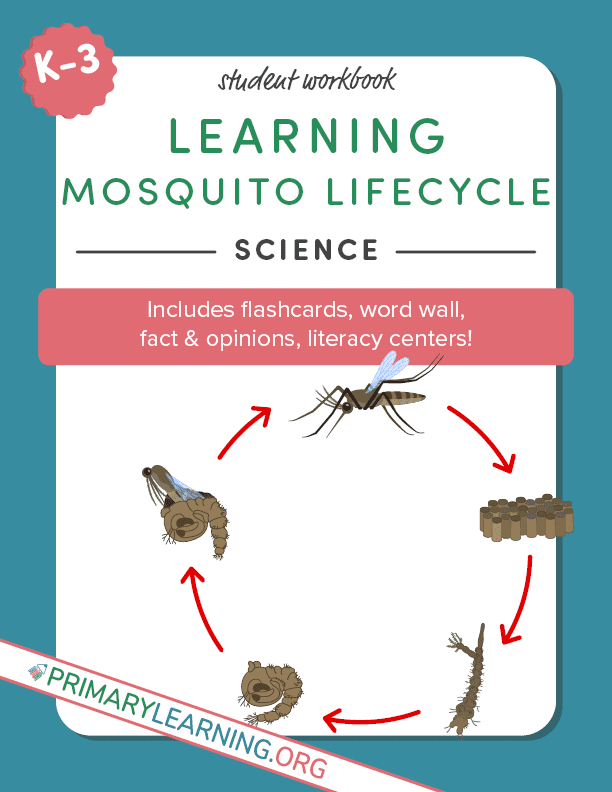
Mosquito Life Cycle Workbook
With this workbook, students explore the mosquito life cycle. The main goal is to learn the transformation of the mosquito from the egg to the adult in a fun and meaningful way.
Mosquito Life Cycle Workbook
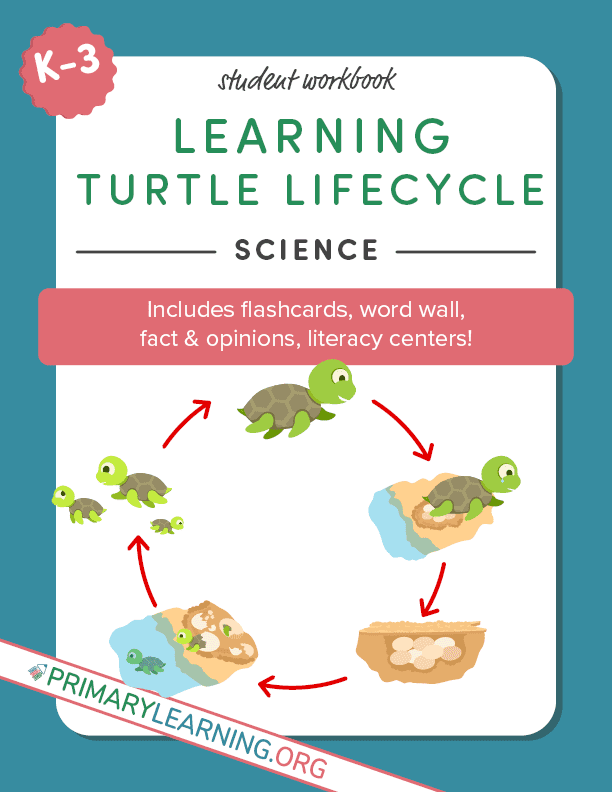
Turtle Life Cycle Workbook
With this workbook, students explore the turtle life cycle. The main goal is to learn the transformation of the turtle from the egg to the adult in a fun and meaningful way.
Turtle Life Cycle Workbook
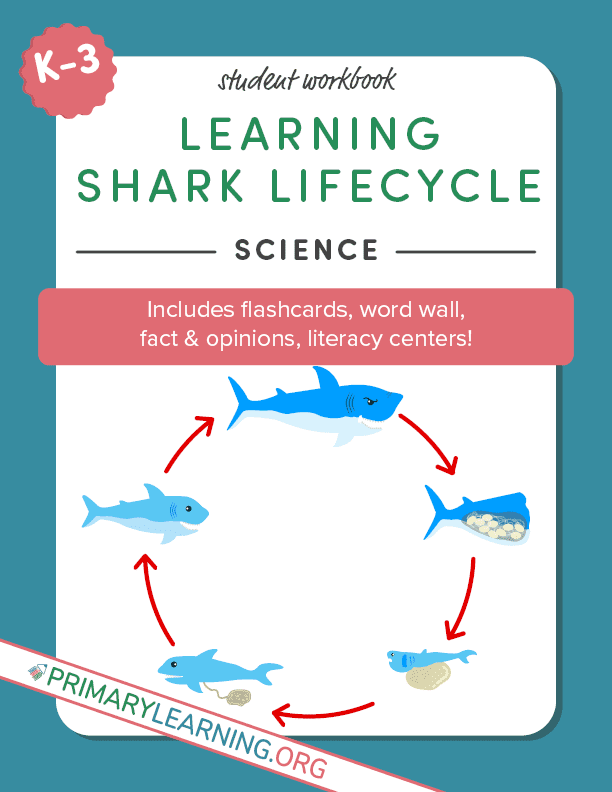
Shark Life Cycle Workbook
With this workbook, students explore the shark life cycle. The main goal is to learn the transformation of the sharkfrom the egg to the adult in a fun and meaningful way.
Shark Life Cycle Workbook
LEARNING MATERIALS TO MEET EVERY CHILD’S NEEDS
Here, at PrimaryLearning.Org, we tend to deliver the best-differentiated learning materials to K-2 students. Our resources can be easily incorporated into multisensory lessons to meet every child’s needs, whether s/he is a visual, kinesthetic, or auditory learner.